Property Management Corporate Headshots | Vancouver

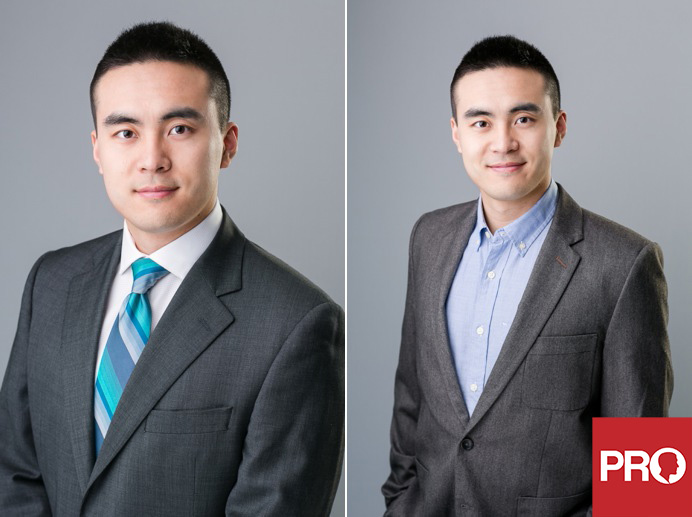
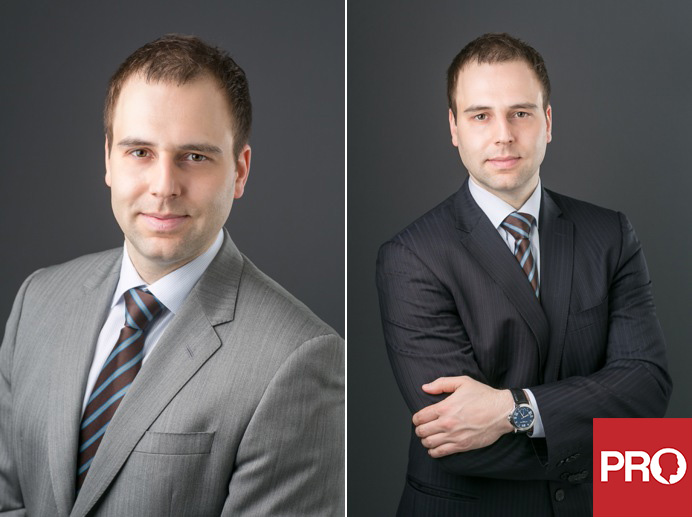
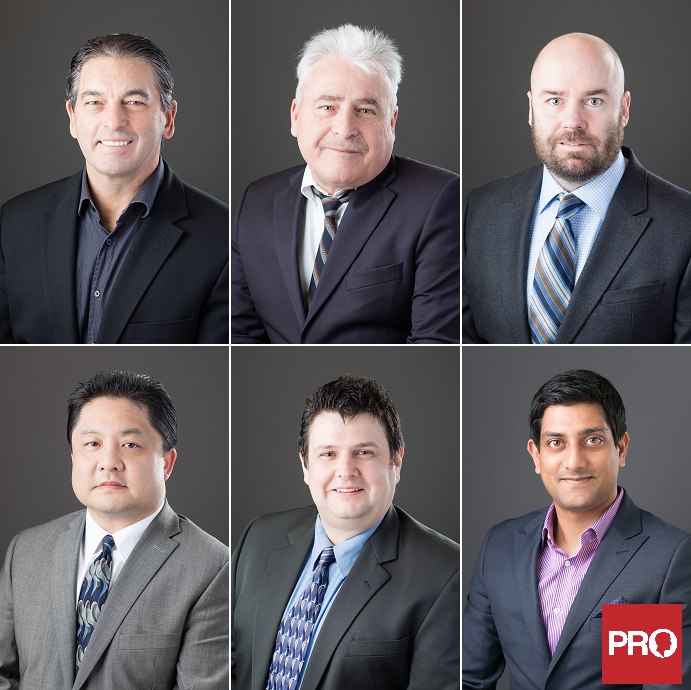
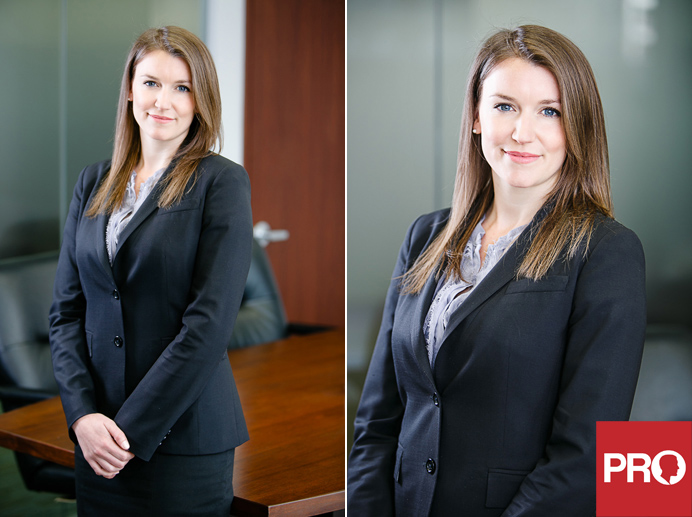
A few sample photos from a corporate headshots session I did for a group of managers and executives from a property management firm in Vancouver. Photos were taken on location at their office. The setup was in a tight space, but the portable lighting system I often use on shoots fit perfectly. These corporate headshots are being used as profile photos for the managers, but are large enough to be used in print marketing as well.

Corporate headshots for property managers and executives

Business Headshot Portraits | Insurance Company

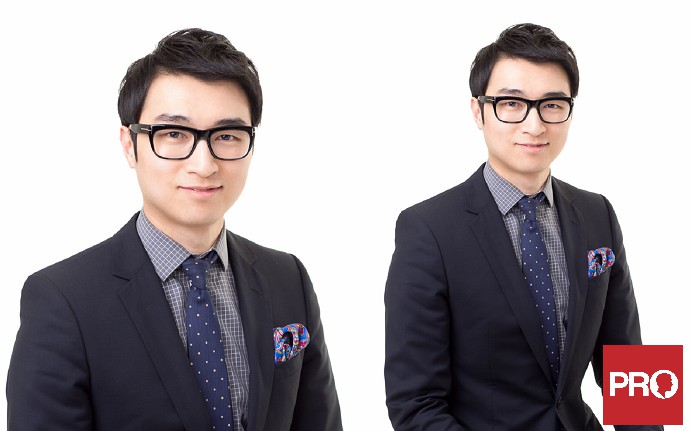
Insurance business headshot portraits


These business headshot portraits were done for a local insurance company on-location. I often do on location headshots at my client’s office, and these were done in the hallway with my usual portrait lighting setup for travel. Usual set-up times are about 20-30 minutes for most locations, and each session can vary from 5 minutes to 20 minutes per person. There a mix of Westcott, Lastolite, Elinchrom, and even California Sunbounce in these photos.

5 steps to getting pure white backgrounds for headshots


headshots white background

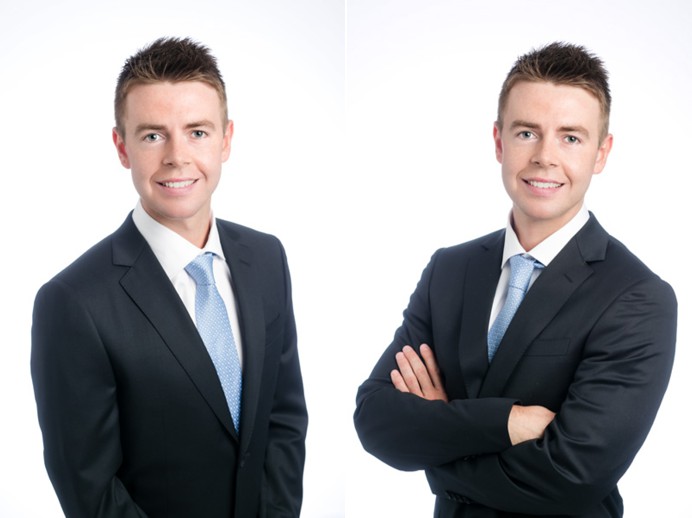
I often get requests for headshots against pure white backgrounds, also known as “hi key” backgrounds. The end product often looks simple, but many photographers struggle with lighting in creating such headshot portraits.

One of the main lighting challenges is getting the background a nice pure white, while exposing the subject properly in the foreground. I’ve struggled with this myself in the past, but found a simple formula that works well in most situations. Here are the steps:

1. You need a seamless white backdrop (no kiddin). Paper seamless background rolls work well, but you can easily get by with a white wall.

2. I recommend (if you have it) at least two strobes (or speedlights). One on each side of the subject, and vertically offset so that one set higher than the other.

I used to use one 580EX II speedlight or an Elinchrom D-Lite strobe to light the background, but I found the results inconsistent. One strobe often resulted in a gradient background that went from 100% (RGB, 255, 255, 255) white to an off-white that was around 80% – not exactly pure white, and more work was required in Photoshop to create a pure white effect.

3. You need a way to flag the strobes so that light is hitting the background only and not directly back into the camera. V-flats work well for this setup.

4. Set the distance of the subject from the background to around 6-8 feet (or more, depending on exposure). This will allow you to control the background exposure separately from the subject. The more distance you have between the subject and the background, the more control you’ll have.

5. After lighting the subject, use an exposure meter, measure the exposure of the background and subject separately. The difference should only be about 1/2 to 2/3 difference between subject and background, with the background reflecting only slightly more light. This is important. If you have too much of a difference, you may create a hazing (low contrast) looking image. If there is too little difference between the subject and background, it may appear light grey rather than white (not a big deal, but will require a little more work in Photoshop to adjust).
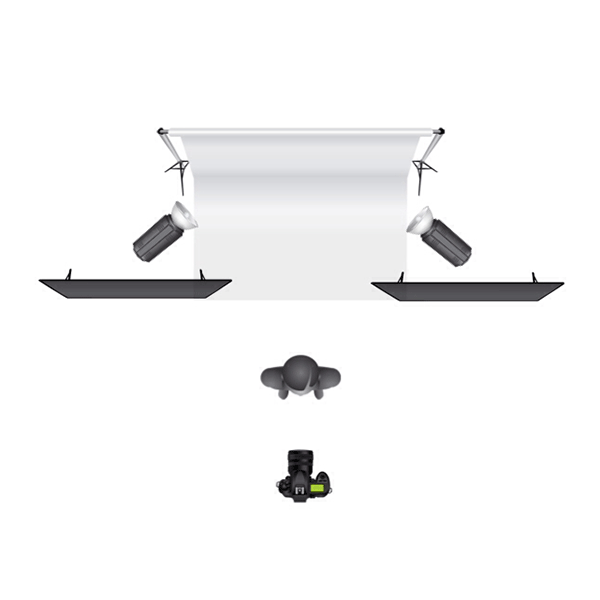
hi key white background headshot setup

Hi Key Pure White Background Setup for Headshot Photography, diagram by Proheadshots Vancouver by d’Soleil Studios

Using these steps will get you very close to a pure white background for your headshot portrait. You may not get 100% white in camera, but if you can get close, you can use Adobe Photoshop or Lightroom to take you the rest of the way.

If you want a slightly easier way to create a white background, you can use a Lastolite Hilite for hi key photography. The same steps apply, except you won’t need to flag your background strobes in the same way you would strobes pointed at a wall or white seamless background paper.

 

Shooting Corporate Headshots on Location

Corporate Portraits

Shooting corporate headshots on location can be one of the biggest challenges for a portrait photographer. Often times, I’ll be a location with tight spaces, such as boardrooms with large tables that make it challenging to position people and lighting . For example, I once had only an employee lunch room to work in that was no more than about 70 sq.ft. in size.

Using the Elinchrom Quadra as my studio lighting unit is one way I’ve been able to overcome this challenge. It’s small, relatively light weight, and more importantly, doesn’t require an AC power source for plugging in. This saves me from having to locate my power pack near a wall outlet, which is a big life saver when you are working at unfamiliar locations.

Also important are my Wescott umbrella-style softboxes, which fold up quiet easily for travel. They also have a smaller footprint and allow for easy setup in tight spaces, such as the boardroom in the photo above.

For this corporate portrait, I set up in the board room and moved some furniture around to get the exact look I wanted. There was a large window camera right, but it didn’t provide enough light on this particular cloudy Vancouver day. So as my main light, I set up my Westcott Apollo Orb on camera right and a Apollo Strip Box camera left and back to create some hair and background light.

The lighting ratios were adjusted to exactly what I wanted, which I accomplished by moving the rim light further back and by letting some light spill onto the frosted glass wall behind my client.

Posing and getting just the right look was one of the more challenging aspects of this shoot. I wanted something professional looking, conservative, but also welcoming and fresh. We spent about a half hour shooting and created a handful of photos that worked with what I envisioned. Further editing work was done with Adobe Lightroom 4 and Adobe Photoshop.