Business Headshots, Corporate Headshots, Photography tips 17 Mar 2020 Headshot Photos that look On-Location Amid this COVID-19 crisis, these are indeed challenging times for businesses in Vancouver and around the world. Many people who… Vancouver photographer No Comments
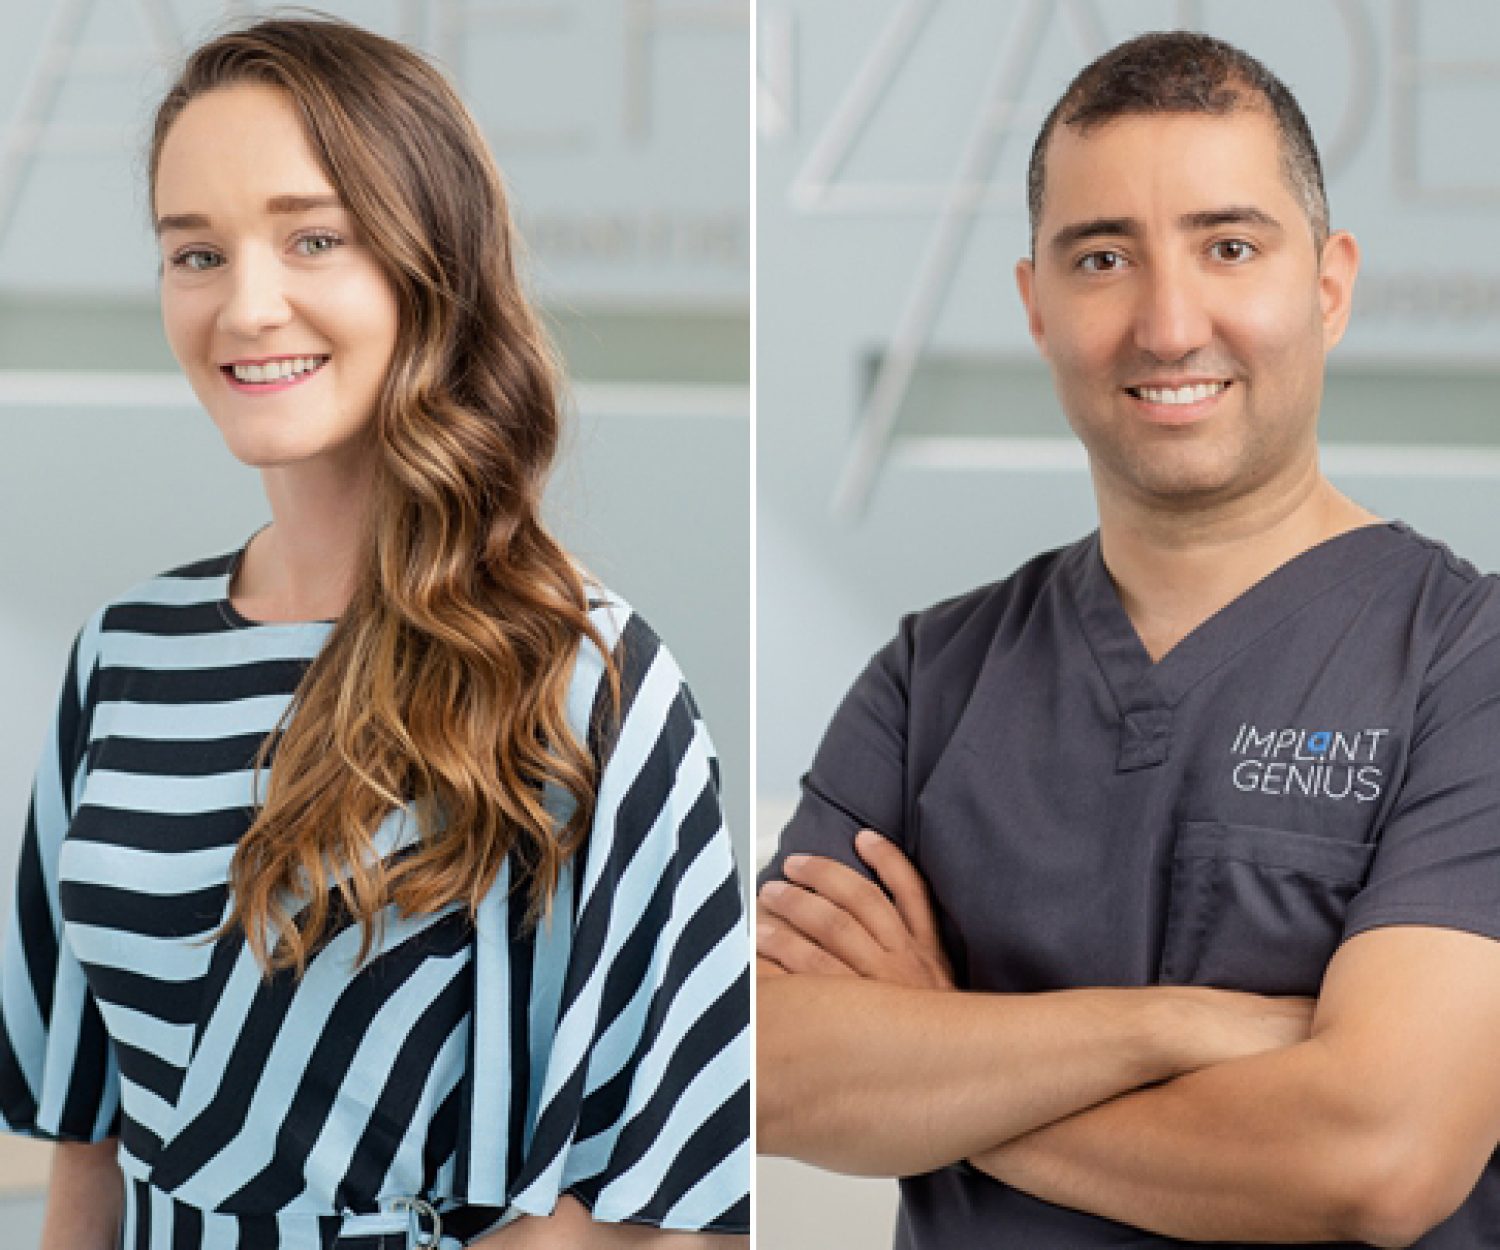
Advertising, Business Headshots, Photography tips, Tips 09 Aug 2019 Small business headshots – Vancouver Dental Studio These small business headshots were photographed on location at a Vancouver dentist office. Upon arrival, the challenge before me… Vancouver photographer No Comments
Business Headshots, Corporate Headshots, Photography tips, Tips 11 Mar 2019 Vancouver Headshots – Best Outdoor Locations If shooting headshots in studio isn't an option, or you're looking for something different, Vancouver offers a number of great… Vancouver photographer No Comments
Photography tips 26 Feb 2015 4 Tips for Producing Headshot Composite Photos Working in Vancouver, it is often difficult to get those interesting on-location hi-key photos during the winter months. The cold weather… Vancouver photographer No Comments
Photography tips 31 Jan 2014 5 steps to getting pure white backgrounds for headshots I often get requests for headshots against pure white backgrounds, also known as "hi key" backgrounds. The end product… Vancouver photographer No Comments
Photography tips 17 May 2013 Shooting Corporate Headshots on Location Shooting corporate headshots on location can be one of the biggest challenges for a portrait photographer. Often times, I'll be… Vancouver photographer No Comments
Photography tips, Reviews 17 Feb 2012 The Ultimate Vancouver Headshot Photographer’s Mobile Toolkit Headshot Photographers, here's how you travel light! Last year, we decided to close up our bricks and mortar photography… Vancouver photographer 1 Comment