Business Headshots, Corporate Headshots 17 Dec 2016 Mobile Headshots in Gastown With the recent early winter snowfall in Metro Vancouver, there was an increase in the number of headshot portrait inquiries… Vancouver photographer No Comments
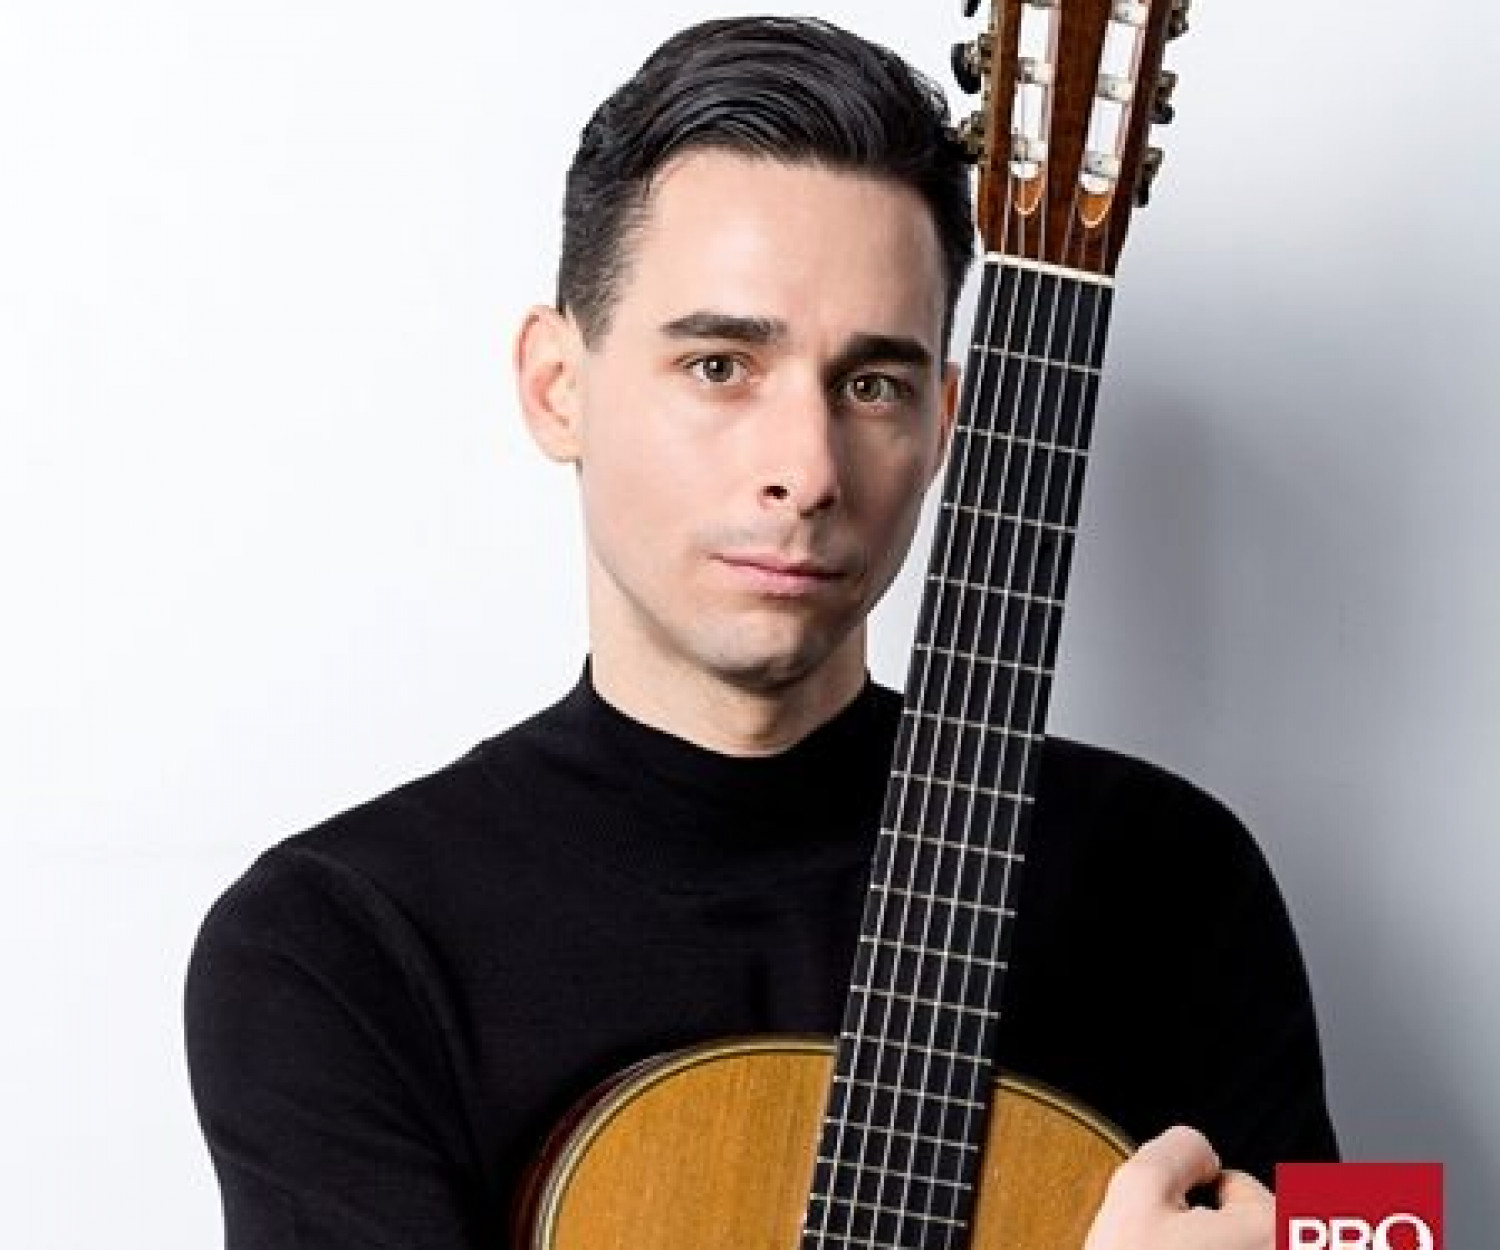
Actor Headshots, Musician headshots 22 Nov 2016 Musician Headshot | Vancouver Guitarist Adrian Verdejo had his musician headshot taken at my studio in East Vancouver this month. Portraits for musicians are a… Vancouver photographer No Comments
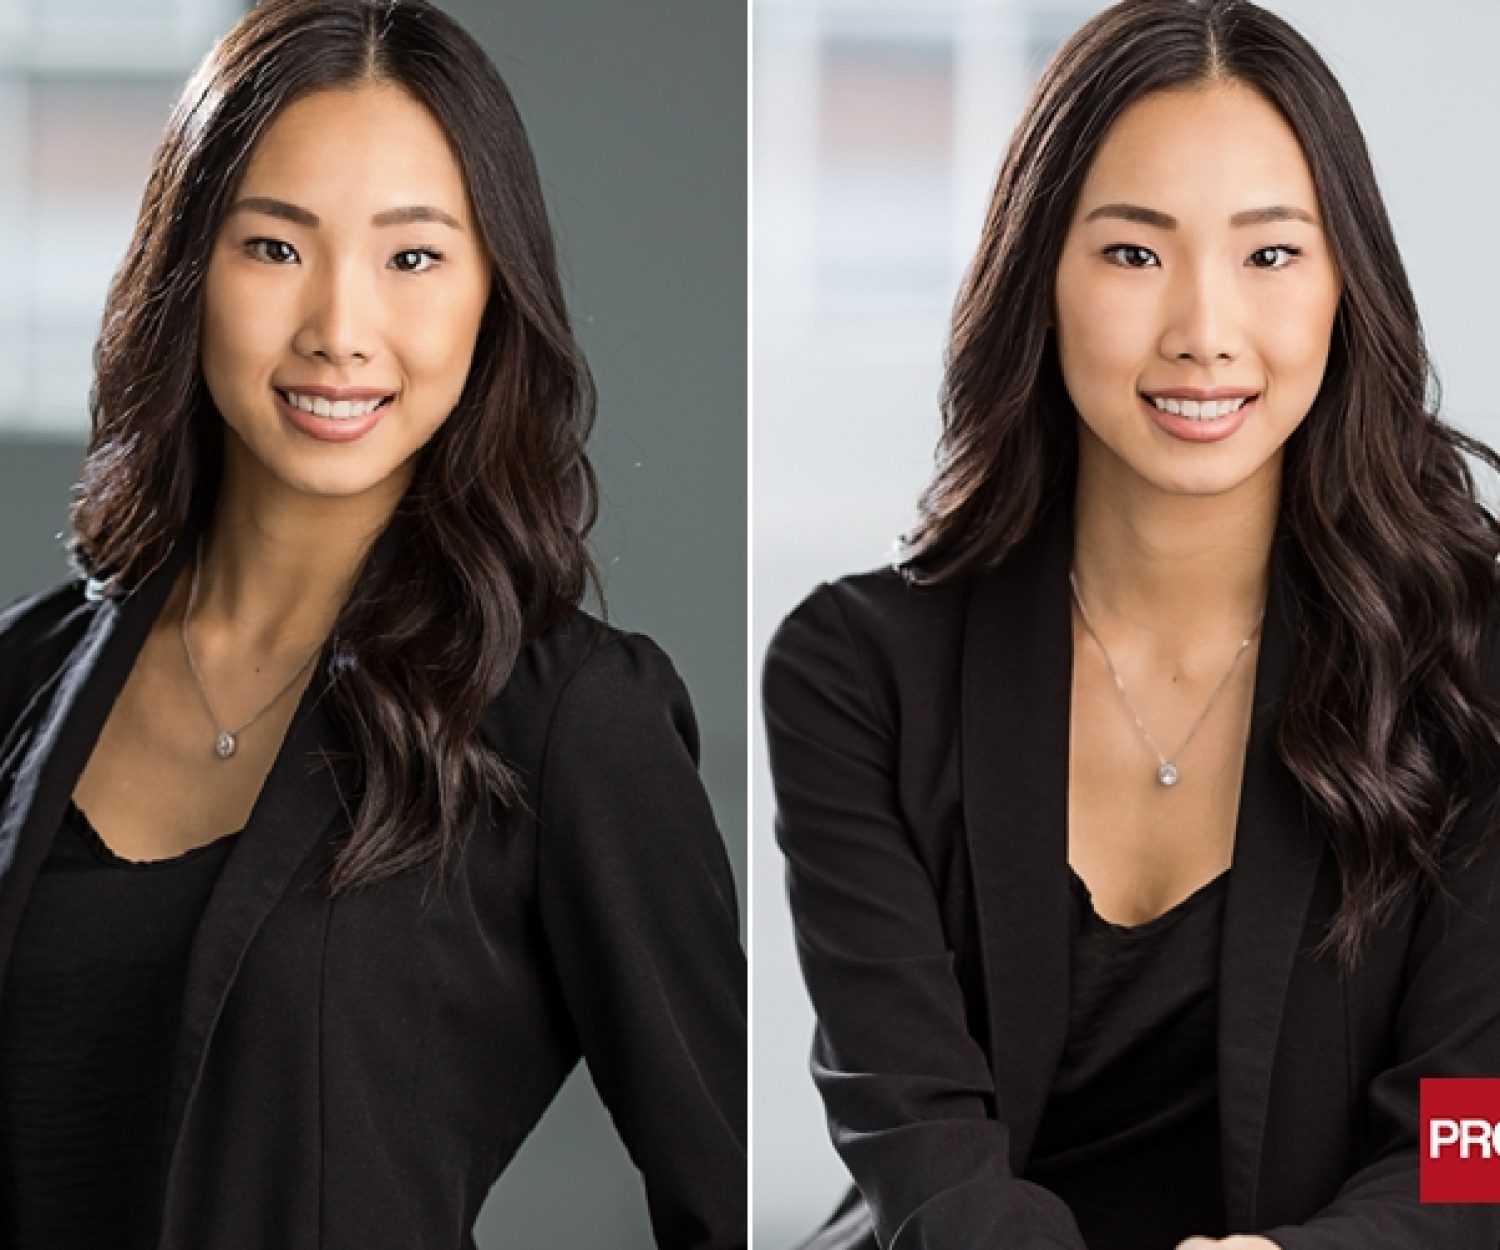
Business Headshots, Corporate Headshots, Executive Headshots, Real Estate Agent Headshots Studio Dark (left) and Studio Bright (right) lighting looks 08 Nov 2016 One Studio, Two Looks for Studio Headshots These two studio headshots were photographed at the same session with two lighting setups for two distinct looks. The Studio… Vancouver photographer No Comments
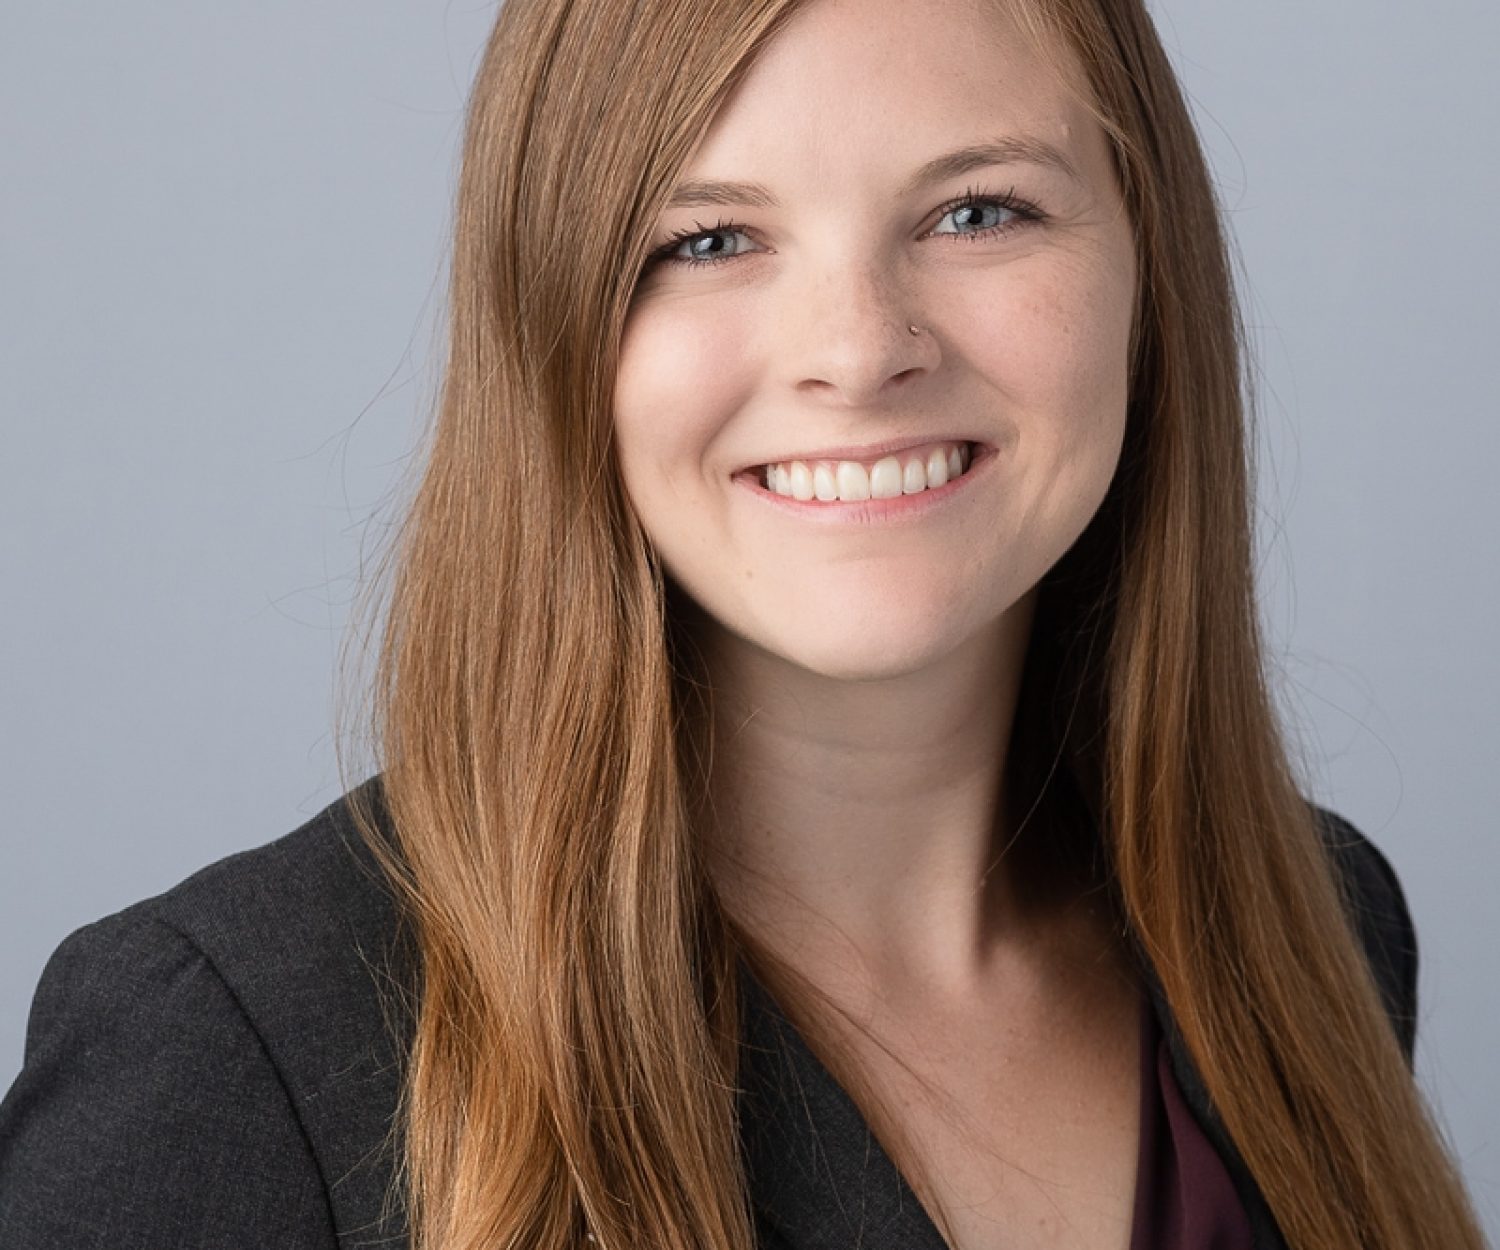
Business Headshots, Corporate Headshots, Executive Headshots 01 Nov 2016 Headshots for Vancouver Business Coaches Here are some headshots for Vancouver business coaches I photographed at the studio against a seamless white backdrop. The headshots… Vancouver photographer No Comments
Business Headshots 04 Oct 2016 Headshot Mini-Session for Medical Resident Applications A studio headshot mini session is the perfect way to produce a professional-looking portraits for Canadian medical residency applications (CaRMS).… Vancouver photographer No Comments
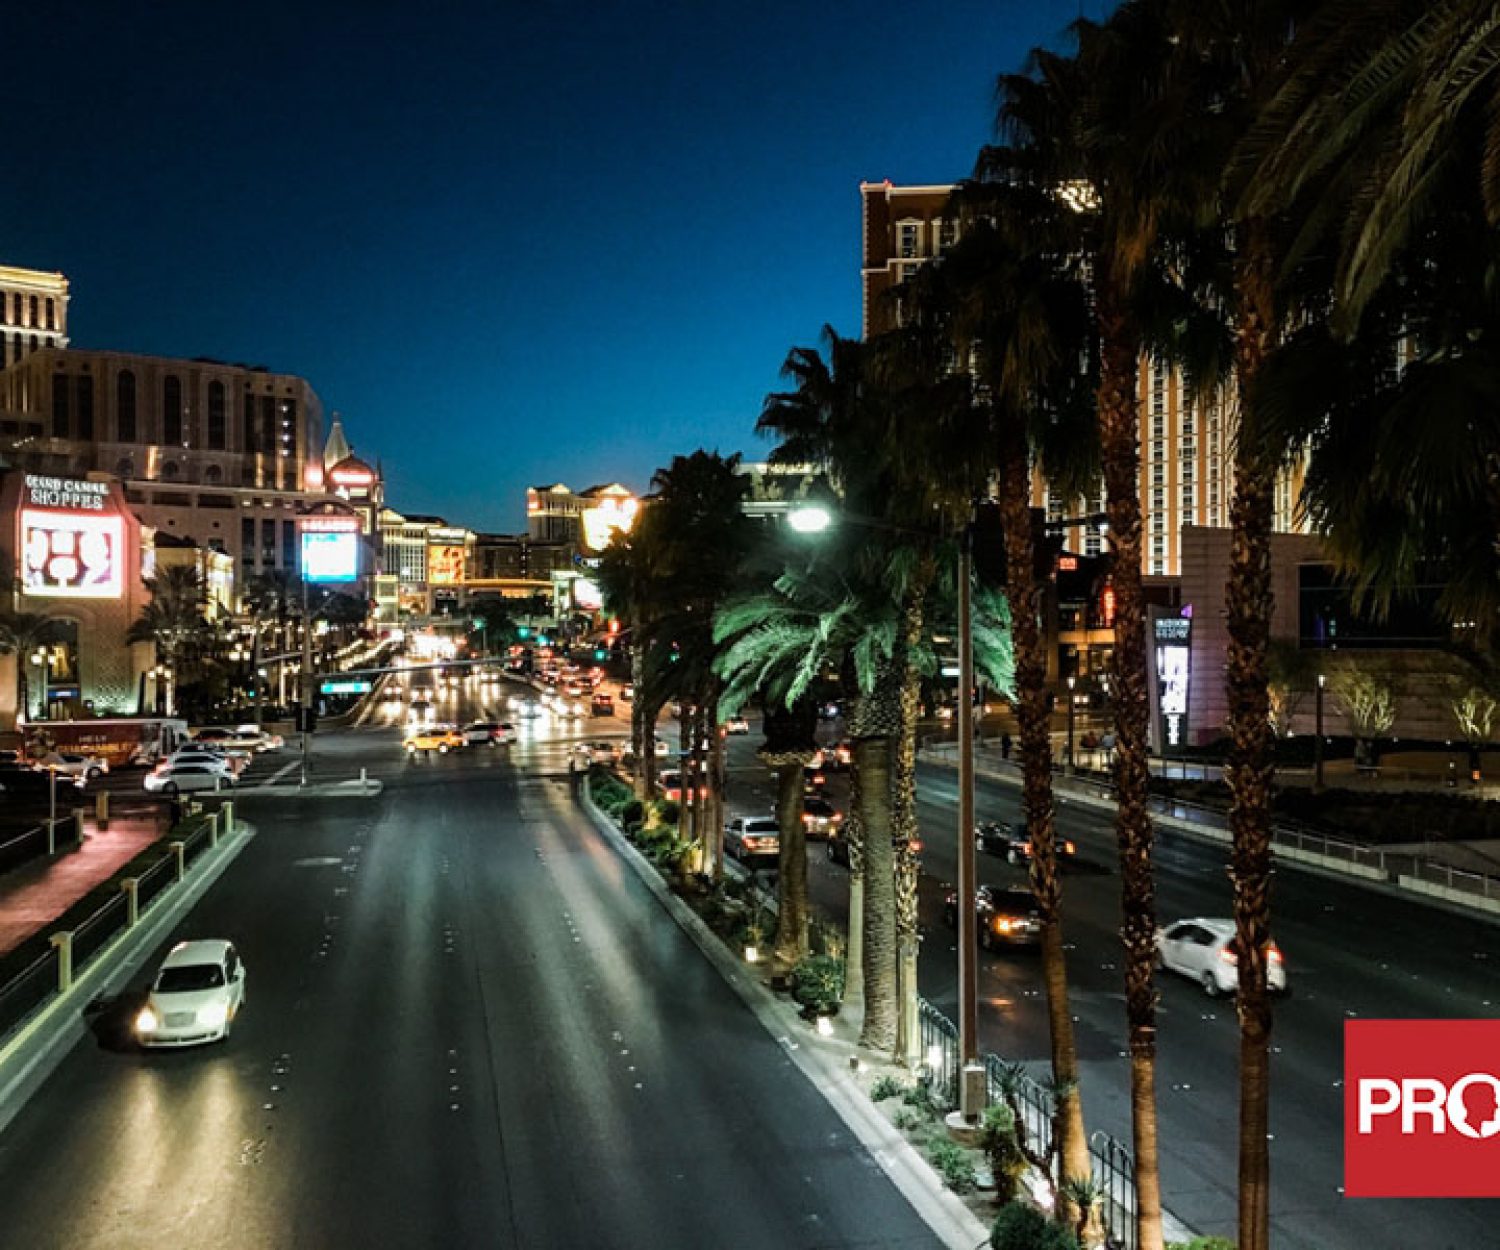
Tips 02 Apr 2016 WPPI Las Vegas Travel Tips This year was my first trip to WPPI (Wedding and Portrait Photographers International). It is an annual conference and tradeshow… Vancouver photographer No Comments
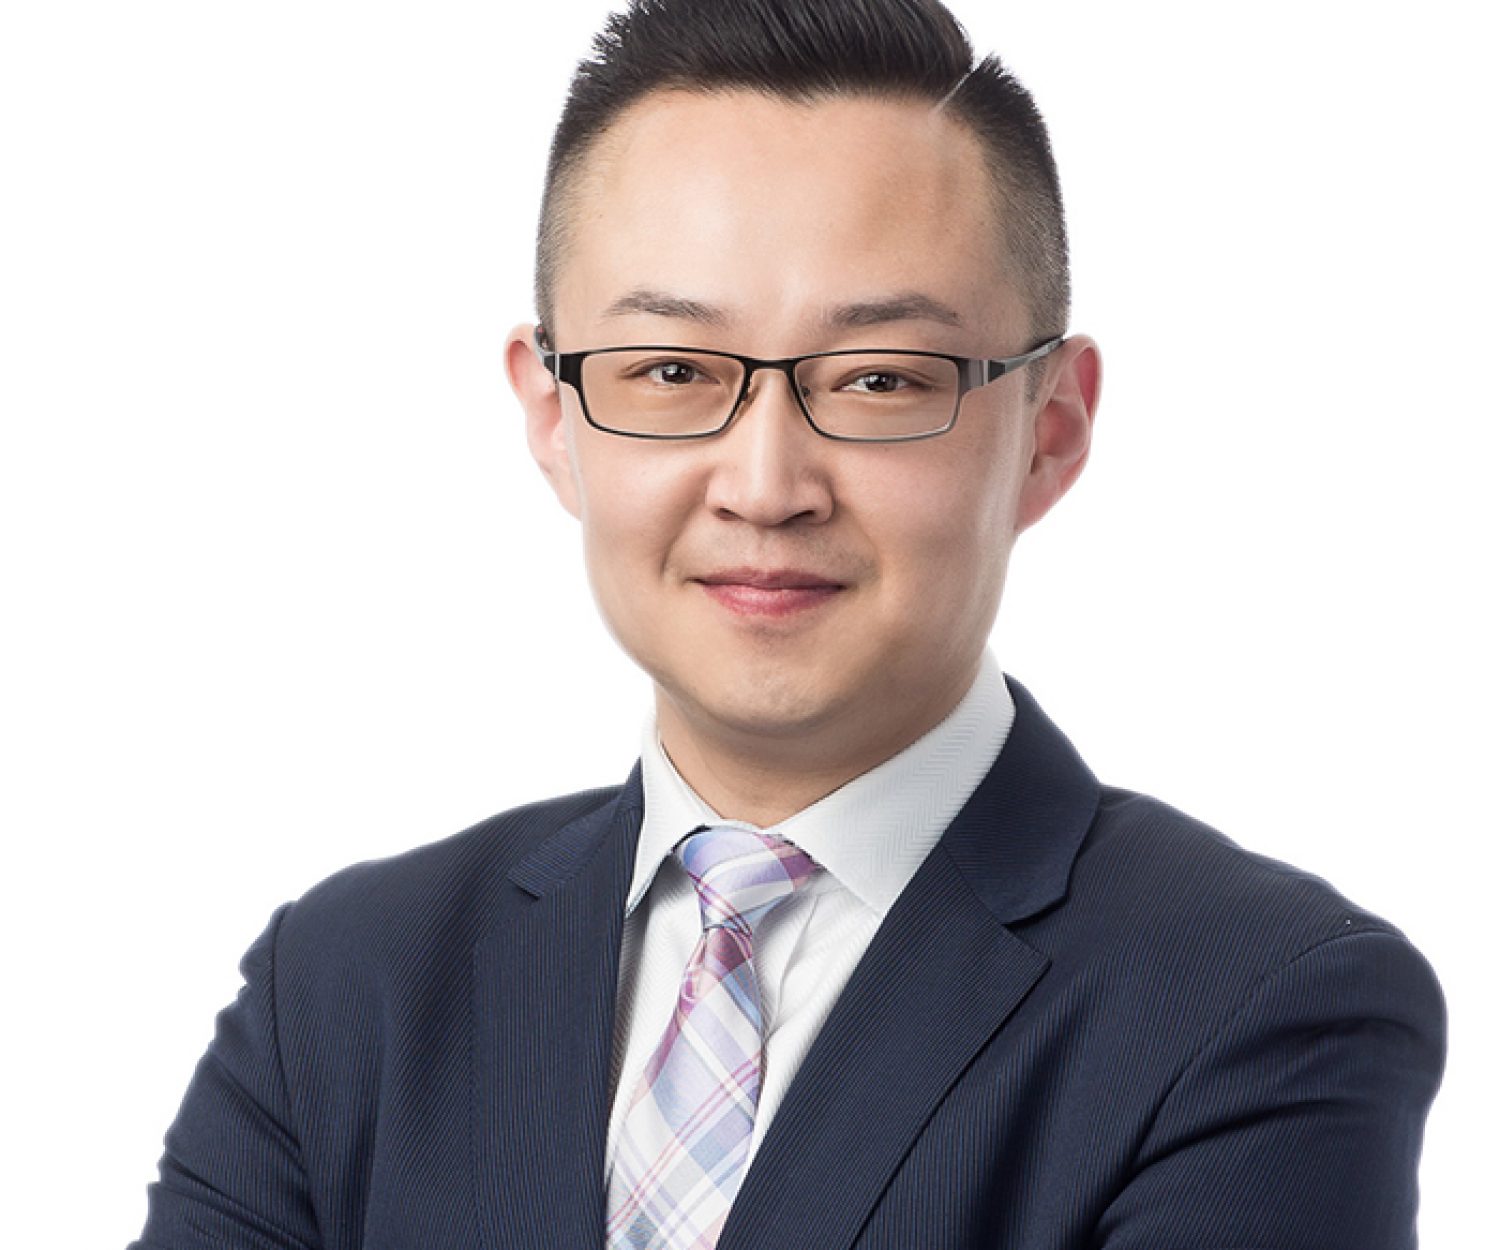
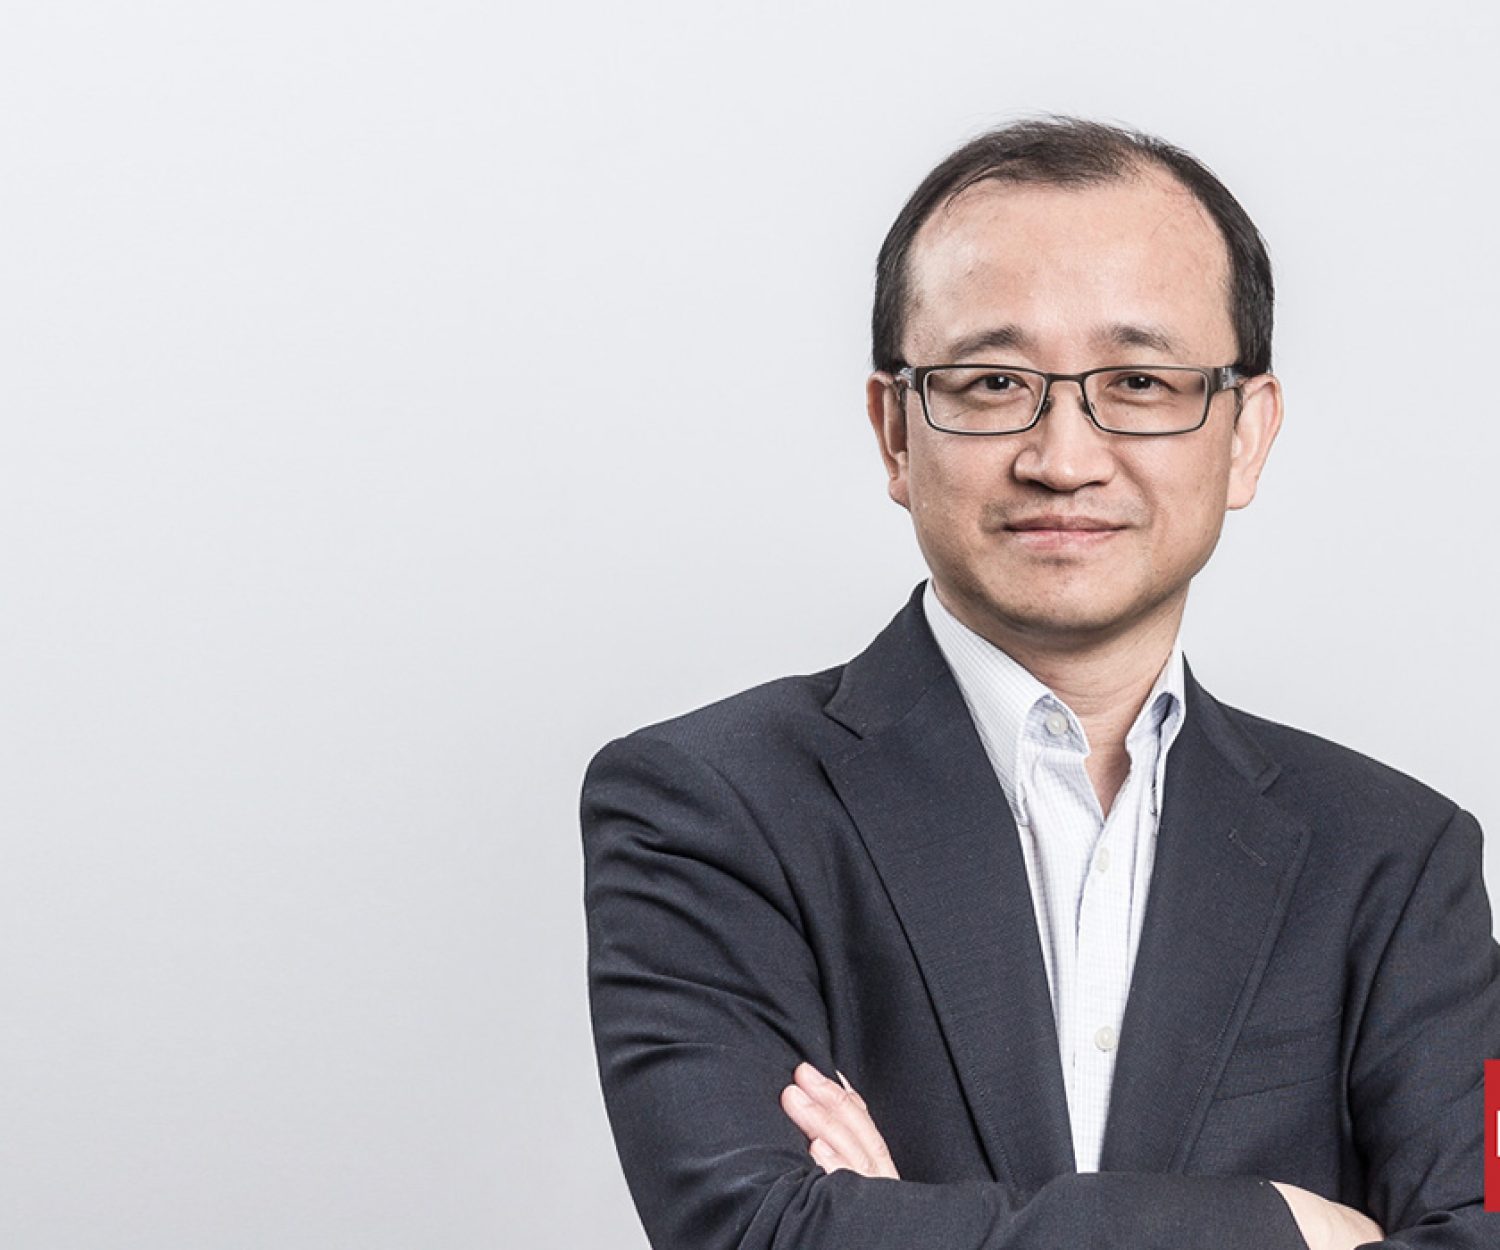
Corporate Headshots, Executive Headshots 23 Mar 2016 High Tech Headshots for Executives This is a set of executive headshot I photographed for a high-tech firm in Vancouver. These are edited for a… Vancouver photographer No Comments
Business Headshots, Corporate Headshots 13 Jan 2016 Fun and creative photos for a Richmond recycling company RecycleSmart is a Richmond-based recycling company that asked me to produce a series of creative headshots for their staff that they… Vancouver photographer No Comments
Real Estate Agent Headshots 16 Nov 2015 Vancouver Realtor Headshots These are a couple of Vancouver realtor headshots taken for a local agent this fall. As a successful realtor in the… Vancouver photographer 2 Comments
Business Headshots 01 Oct 2015 Surrey Realtor Headshots I did this headshot session with Sandeep over the summer. We shot outdoors using a mix of strobe lighting and… Vancouver photographer 1 Comment